
Monthly postings are less time consuming (overall) but also less informative. I'm hardly able to remember what I did yesterday, let alone a month ago! So I do apologizing for lack of details although this way you get more photos (~60 this time!) and less words. Onward with thus:
Many, very many, projects are in full swing! With only a few weeks to the "official" housewarming party, things are getting crazy and we're constantly developing and re-editing the to-do list for the event. For those who are invited, I hope you can make it! I'd love to show you around while you enjoy some food, friends, and fun! For those who did not get an invite, Don't worry, there are no hard feelings. I may have forgot a name, lapsed a person, or simply forgot...I'm sorry if you feel left out. If you'd like to come please contact me and we'll work something out!
Here are some random photos and descriptions that don't fit into any specific category below:
 First Holiday at the house! Mothers Day breakfast! |  A photo on Dawn's Birthday and our anniversary! |
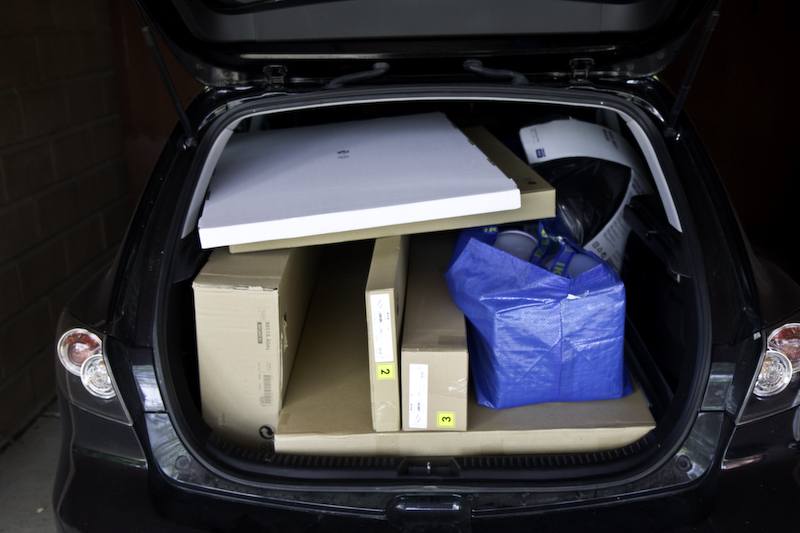 Another trip to Ikea! |  Our First Cookout! |
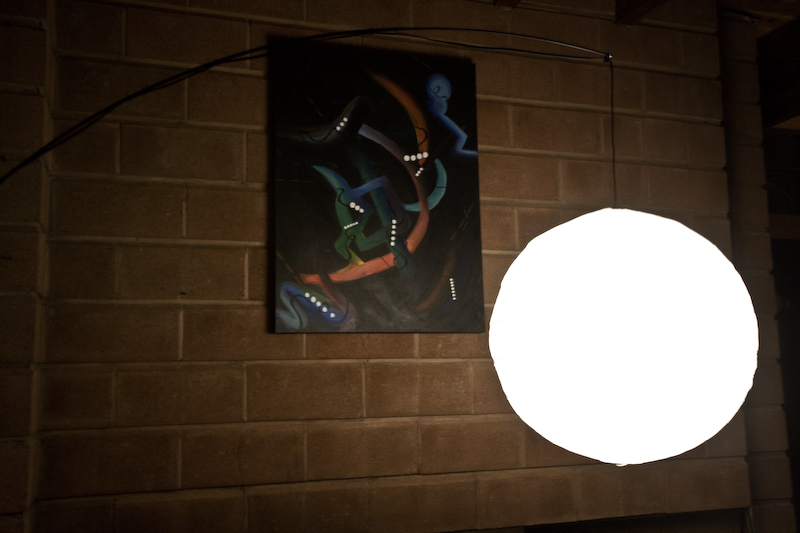 New Ikea hanging light! | 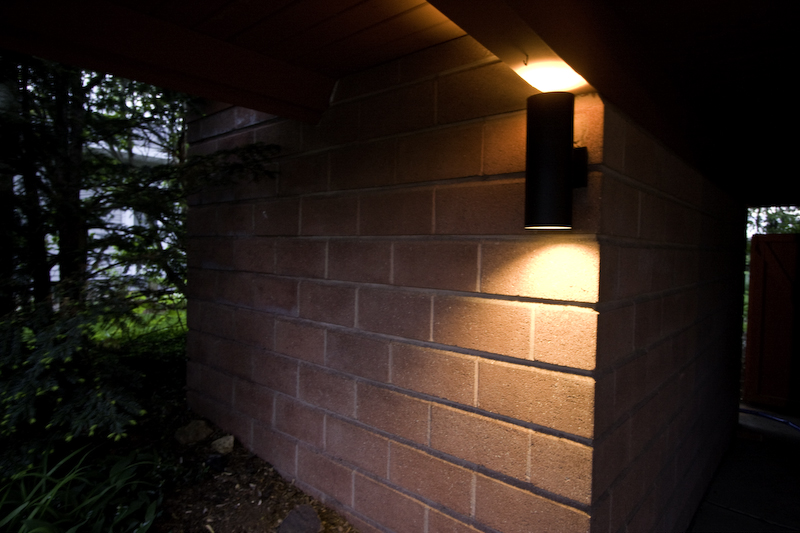 Installed new outdoor lights |
We'll break this up into sections for easier reading.
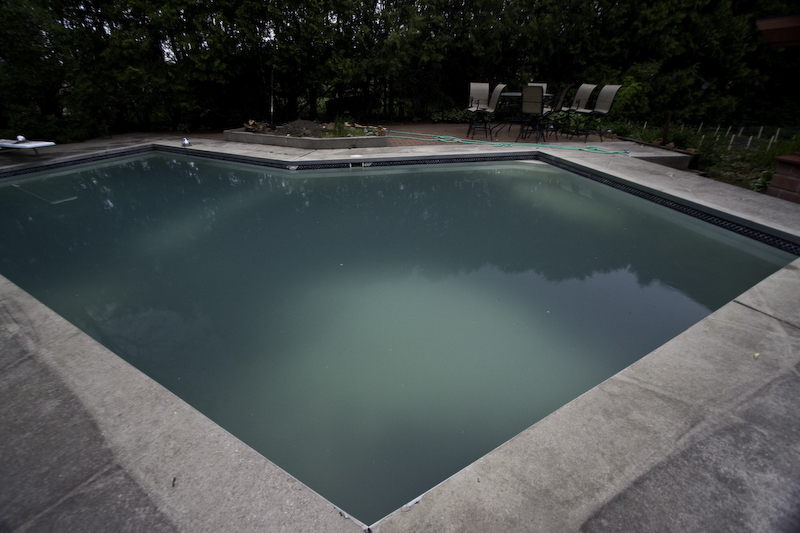
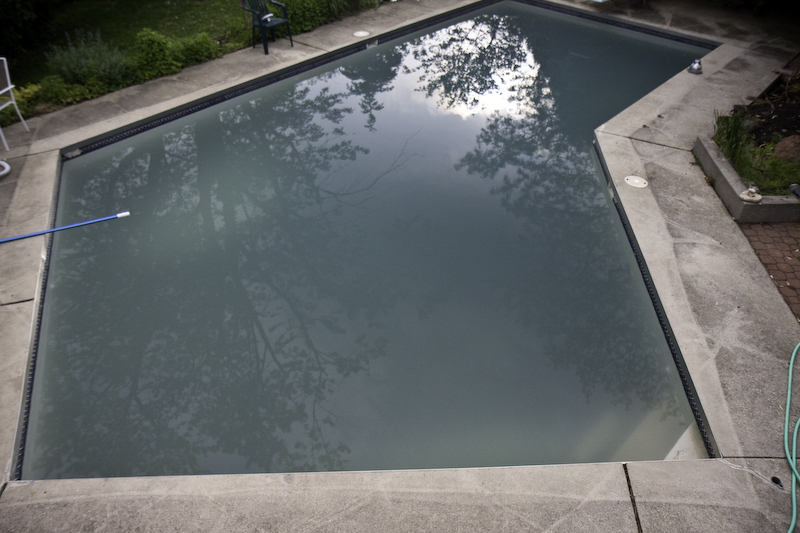
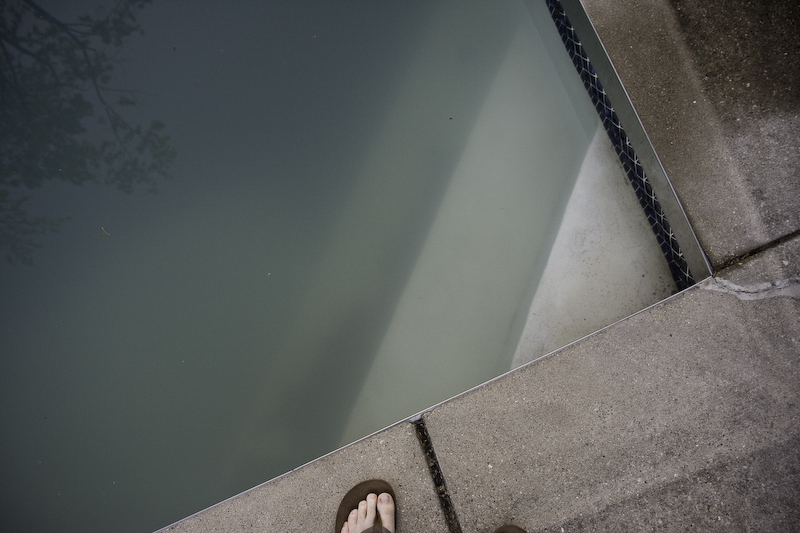
Pool:
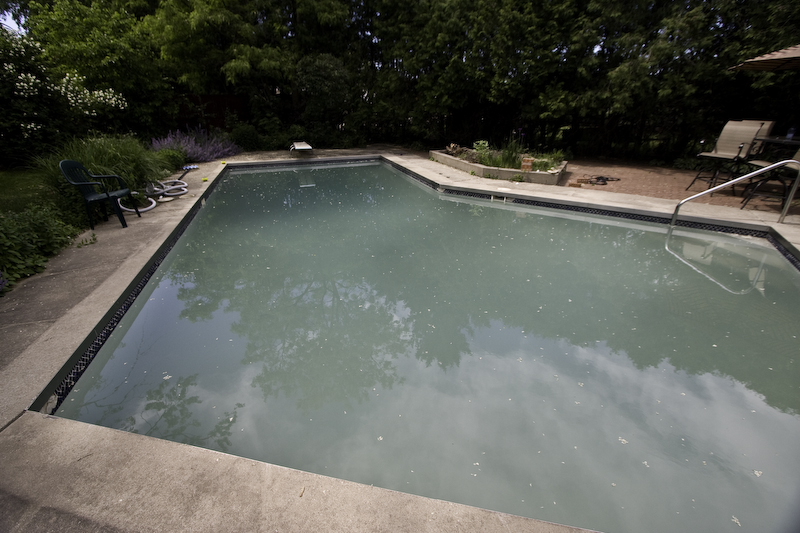
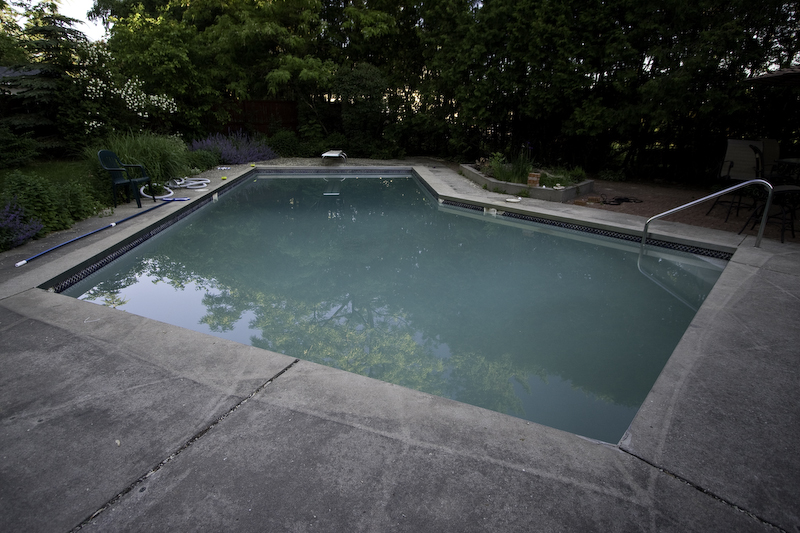
With the party pending, Item #1 is a clean pool, am I right? Well although it's not ready just yet, It's within a few days. Cleaning, vacuuming, chlorinating, etc... all necessary items to get a clean, swimmable pool! Test water, vacuum, brush, skim, add chemicals, etc... this is the general process, and to be honest it's been very easy! It's hard for me to notice the progress as I'm at ground level. Stepping back for a minute and looking at the photos I see the progress. I've even got the lights installed and working! With the warm weather we've had the pool up to about 80 degrees! This morning the pool is nearly clear all the way to the bottom of the deep end. These progress photos show how things are going...LOTS OF POOL PHOTOS!
More Info and Photos After the Break >>>>>
 My trusty Test Kit! | 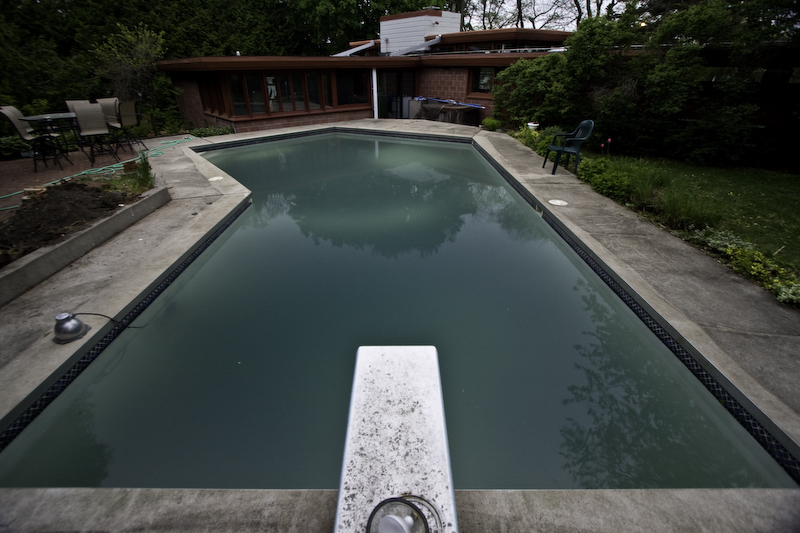 Progress Photos |
 |  Few Days Later |
 Stairs are appearing. | 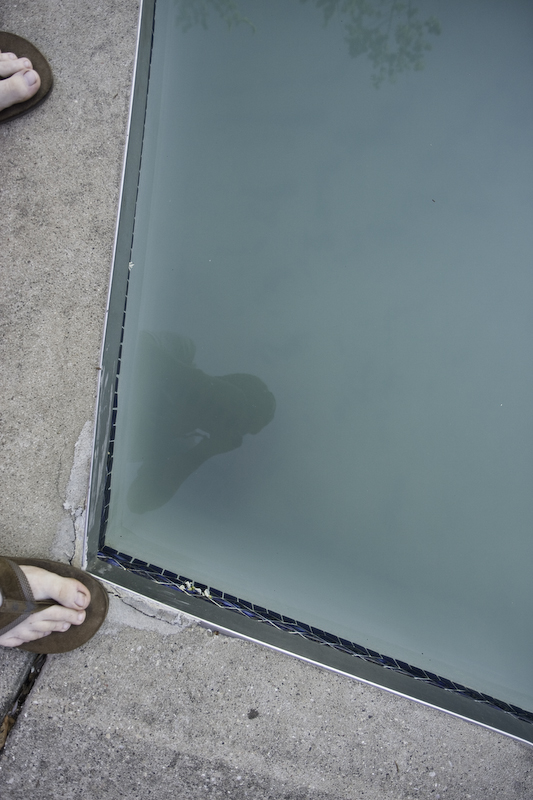 |
 | 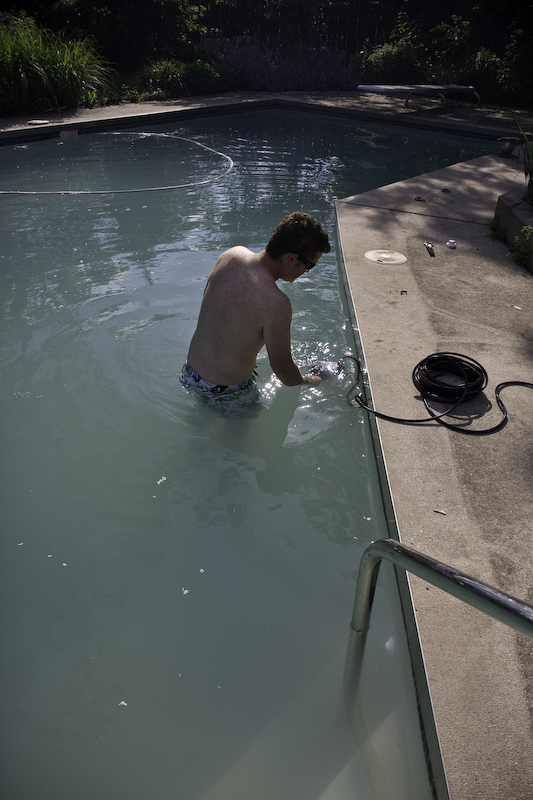 First dip! Installing Lights! |
 Getting Lighter! | 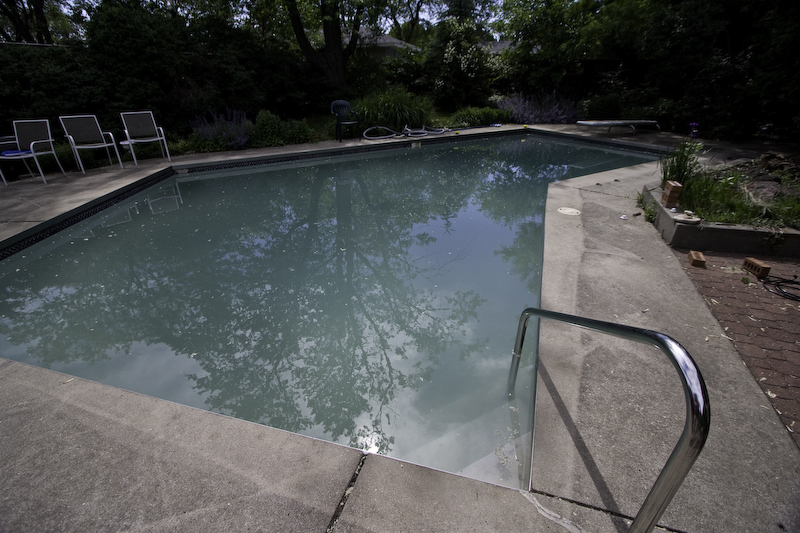 Installed railing |
 | 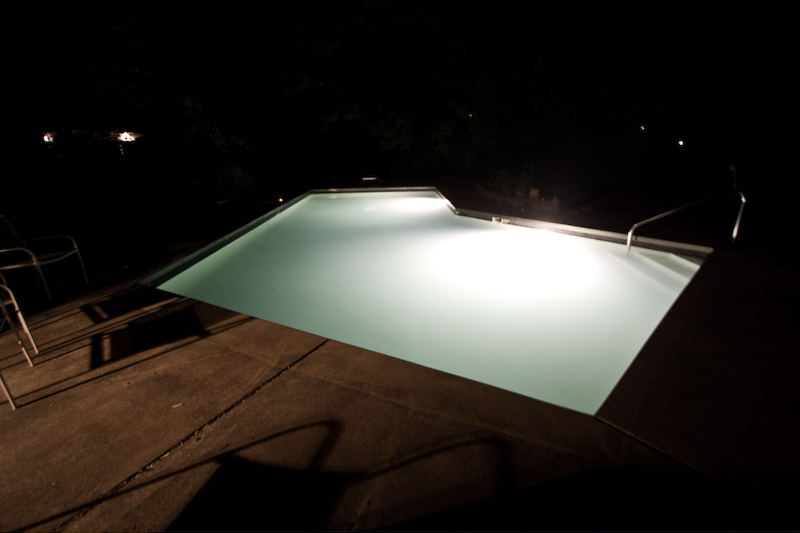 We have light. looks awesome! |
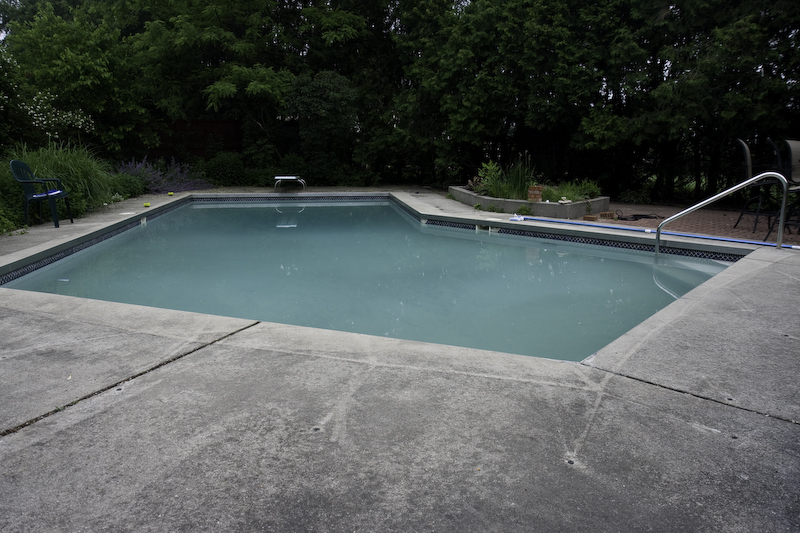 just the other day | 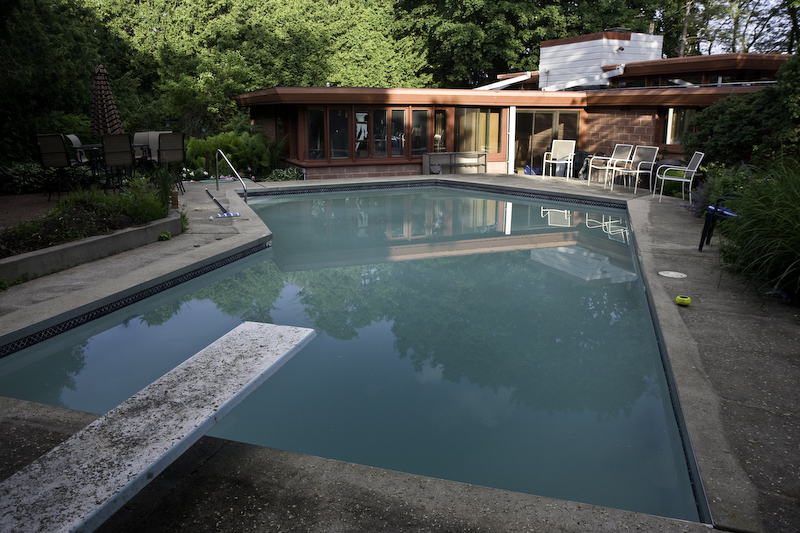 lovely color now |
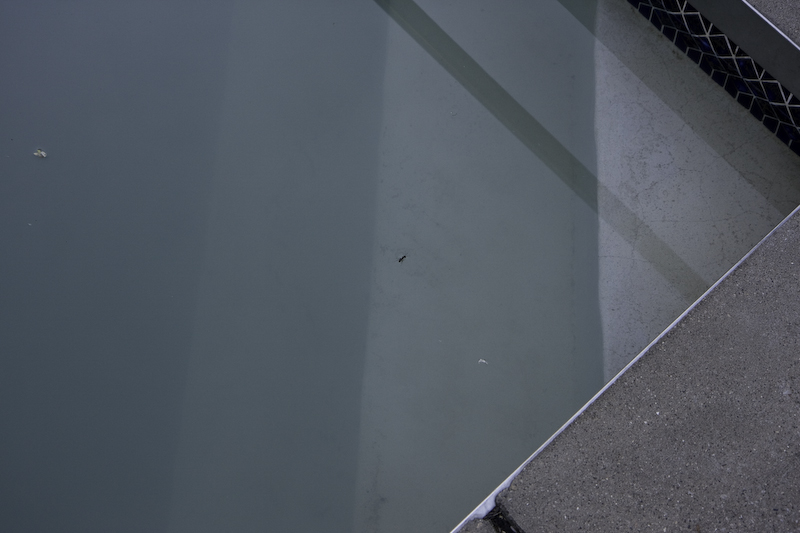
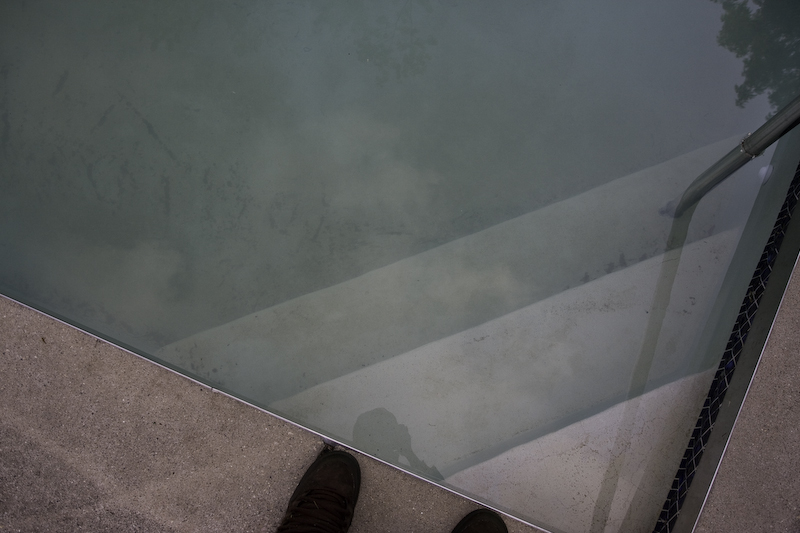 clear to the bottom! | 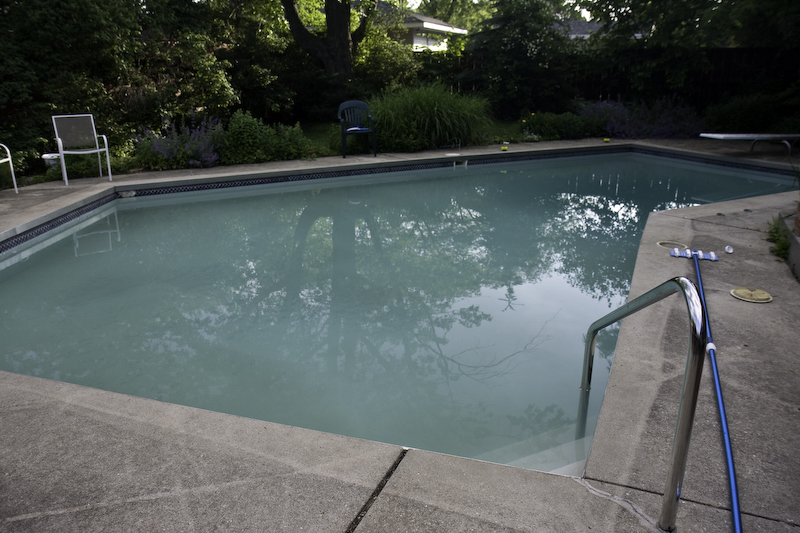 Come on in. |
Entertainment:
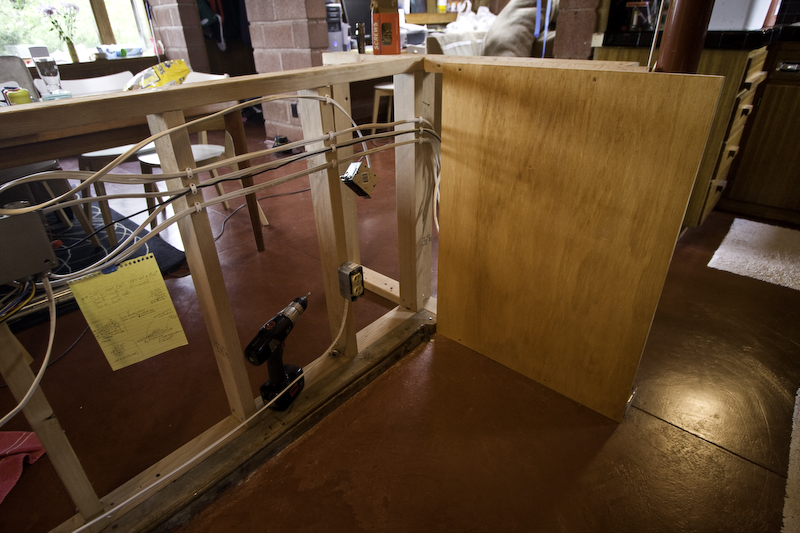
I've got a closet in the living room that is going to be the new home for the entertainment system. A few necessary items were needed to make this happen. 1. electrical. This was the most important because, well, you need power for a stereo. 2. lines for audio and video. This was somewhat of a pain. I've got a 7.1 surround so there are lots of cables to route, and doing so in a brick/block house is not easy... There will be cables showing, It's unavoidable and I'm ok with that. Luckily besides the speaker lines I only need to route one HDMI to the TV. 3. Hook everything up. I'm still working on this.
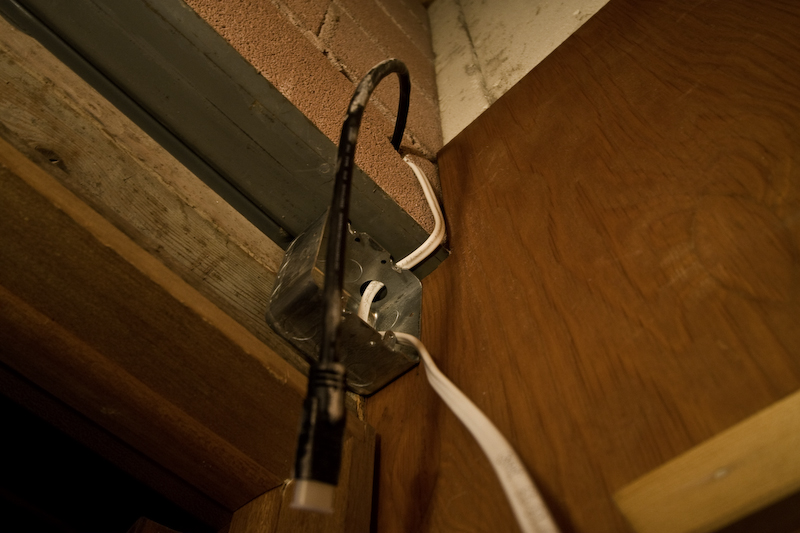 Box added and mounted! | 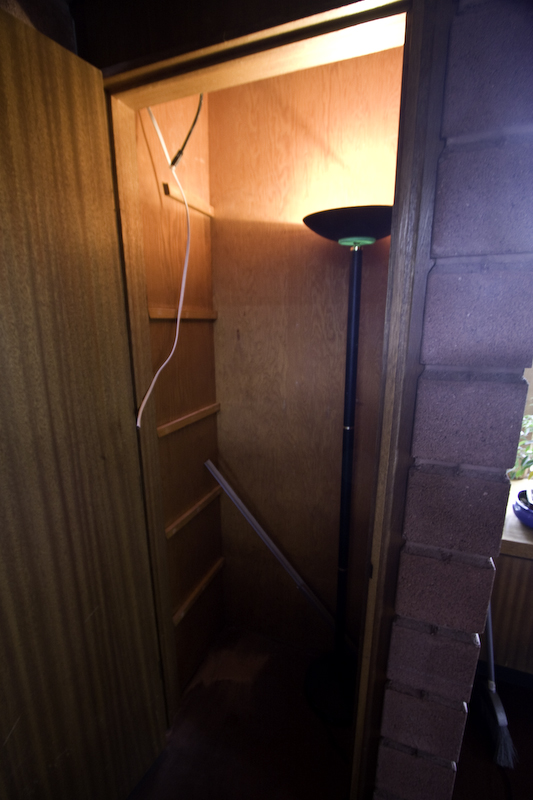 |
 | 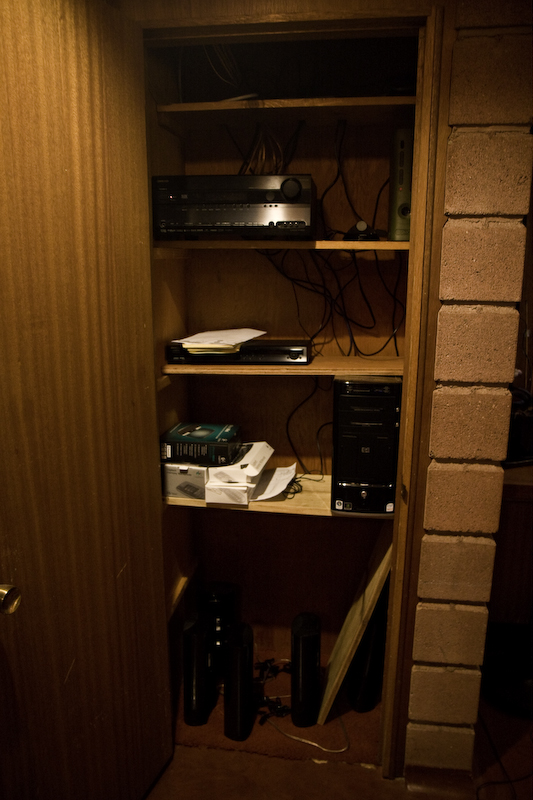 Items Added and hooked up |
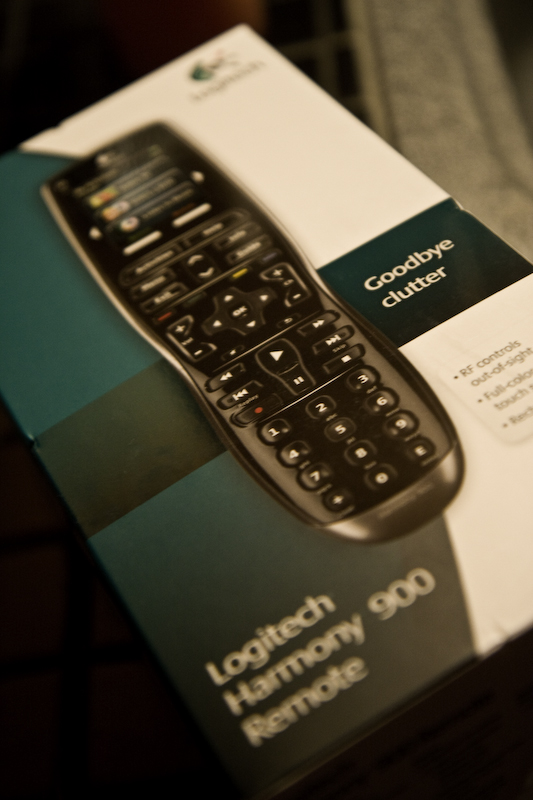
Being that they'll be hidden in the closet I needed to upgrade remotes so that everything was truly hidden. Decided to get a harmony 900 (thanks to a great sale at BB and dawns generosity of lending me her Gift Card) and a di-novo mini for my HTPC...I've yet to hook them up. I've got the main speakers now hooked up but I've yet to figure out how to mount the surround speakers. The surround R/L and Rear R/L speakers present a problem in a living room with 15' ceilings. I had an idea to hang them but it was mentioned that they'll swing while being used (psshhh physics!). this will take some thinking on how to mount them unobtrusively and without doing damage to the mounting location...I'll keep you posted on this, and any ideas will help! Sorry for the long details, As you can tell I'm somewhat of a audio freak!
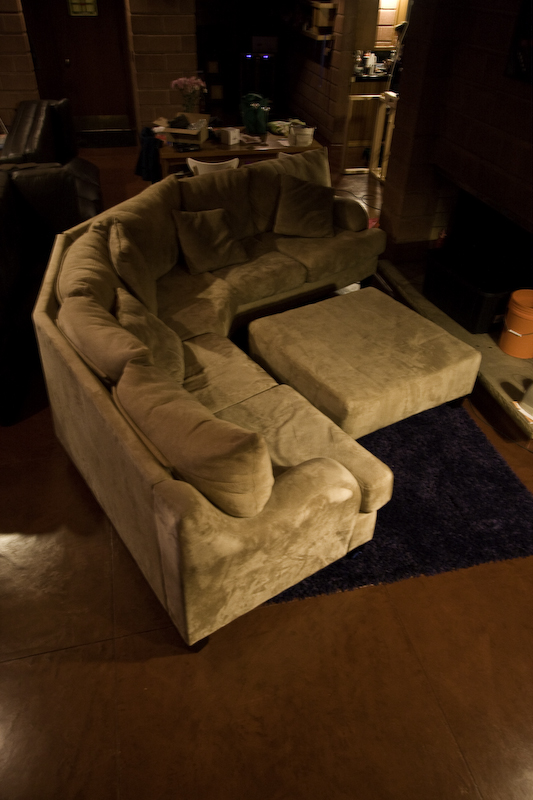
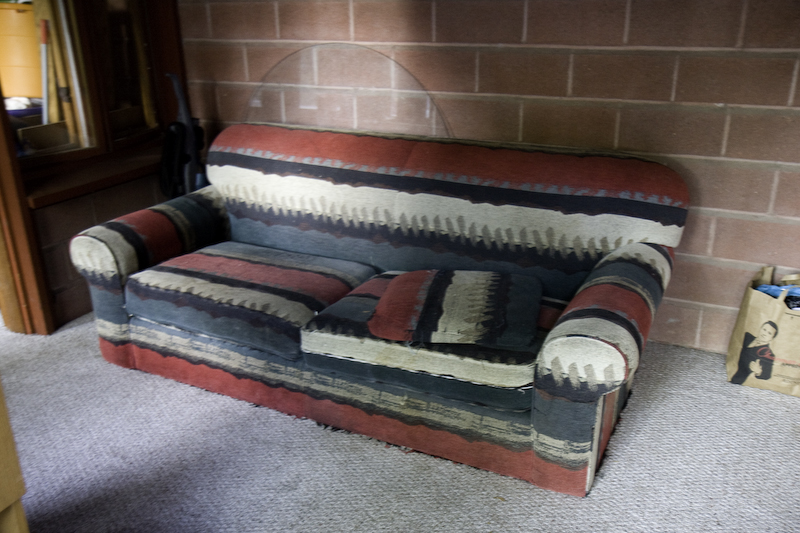
When we moved I immediately knew my old couch would not work...so what do you do? Craigslist obviously! I had the easiest sale on craigslist I've ever had! Sold within 4 hours, sight unseen! Goes to show what good, detailed, photos will do to help make a CL post easier for you and the buyer. With cash paid in full 2 days before pickup I was looking for an alternative. Found a new couch, brown and leather, that will work great! Purchased, Transported and placed in house! It's great for the space, lower back and fits much better.
 Old layout | 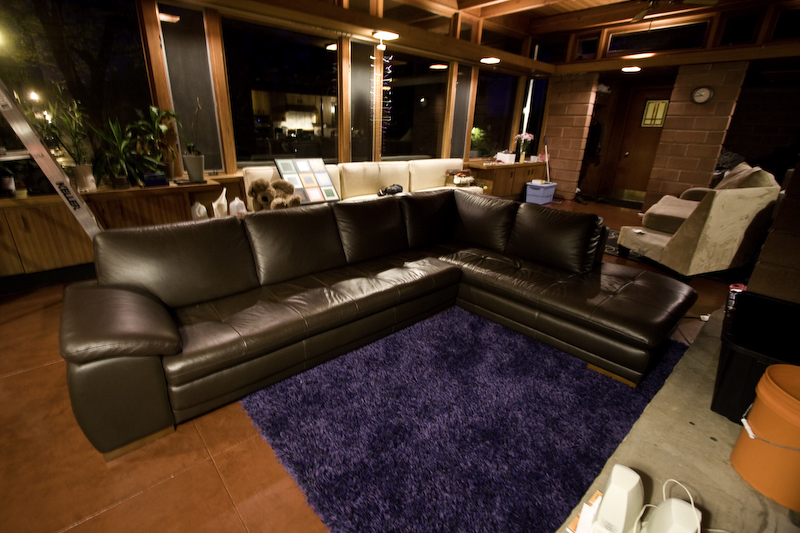 New couch |
Back Room:
Another CL story...the beautiful old couch that was left when we moved in was quickly swooped up by someone browsing the "free" section on CL...awesome because now I don't have to worry about it any longer. Also sent her along with the old light fixtures.
Now that the couch is out of the back room it really seems large! The only negative, you now see the nasty stained white Berber carpet. So with that, new carpet is in order. Note to self, Choosing carpet is ridiculous! style, thickness, pile, stain guards, and not to mention a billion color options. Well we've got some decided on and it gets ordered next week, I'm hoping for install before the party!
 Lovely couch! | 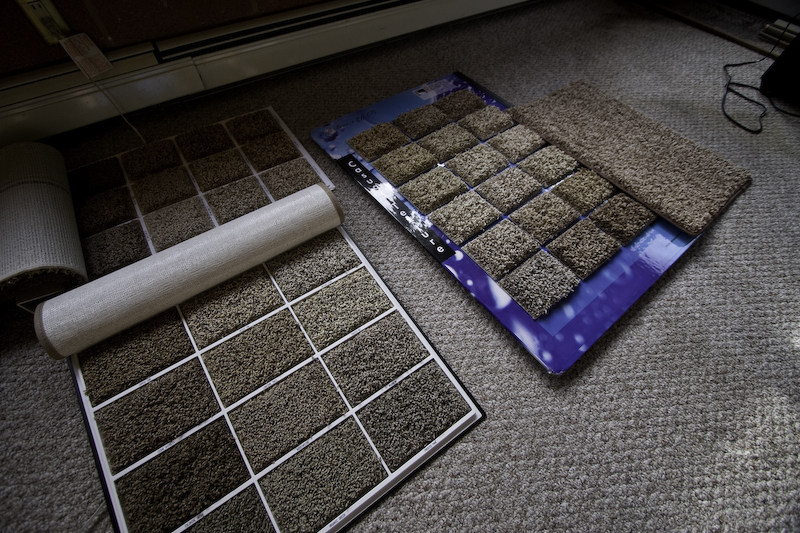 Decisions |
Roof and Windows:
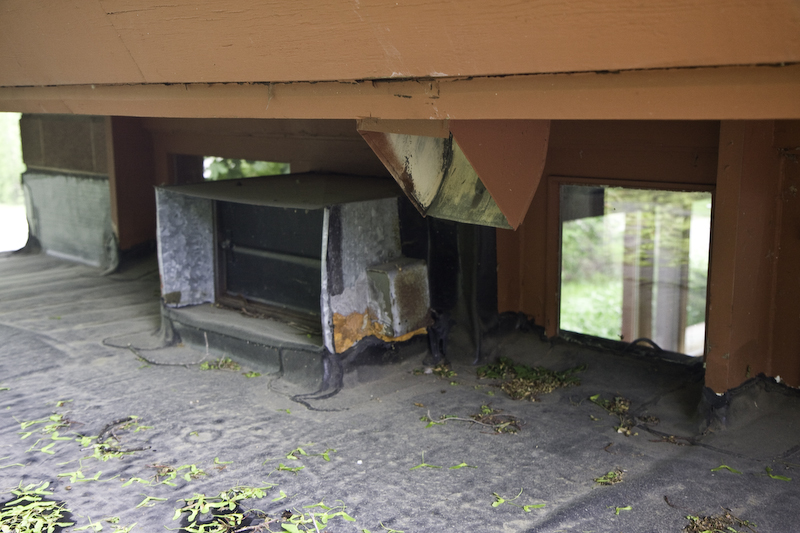
Windows are a major part of this house...obviously. With plans for a roof in the near future, I've got some windows to fix first. First the skylight has been broken for years with simply a piece of plastic placed over it and bricks to hold the plastic down. I removed the dome to measure a new one...should be here soon. It'll be nice to remove the plastic.
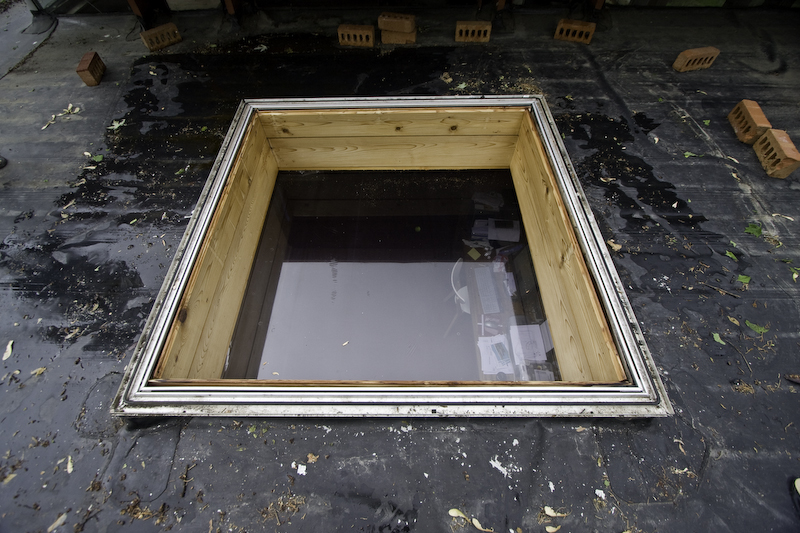 Skylight removed | 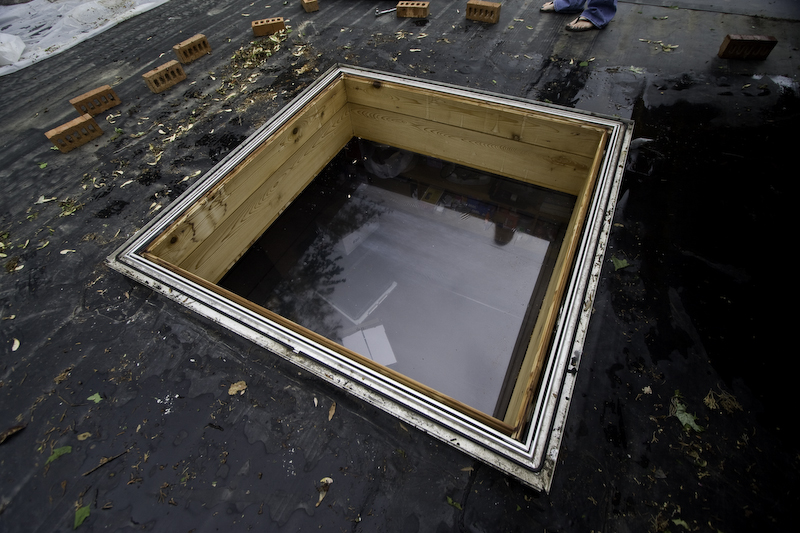 |
Another window that needs to be changed is where the old air cleaner is in the living room. The air cleaner is going to be removed and a new window to match the others will be installed in the area. I used CL to find a local guy that makes custom windows.
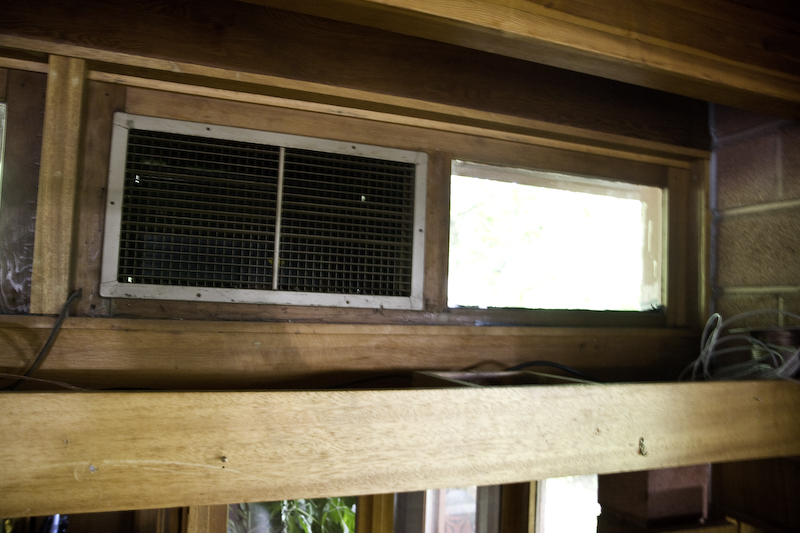 Old air cleaner on left | 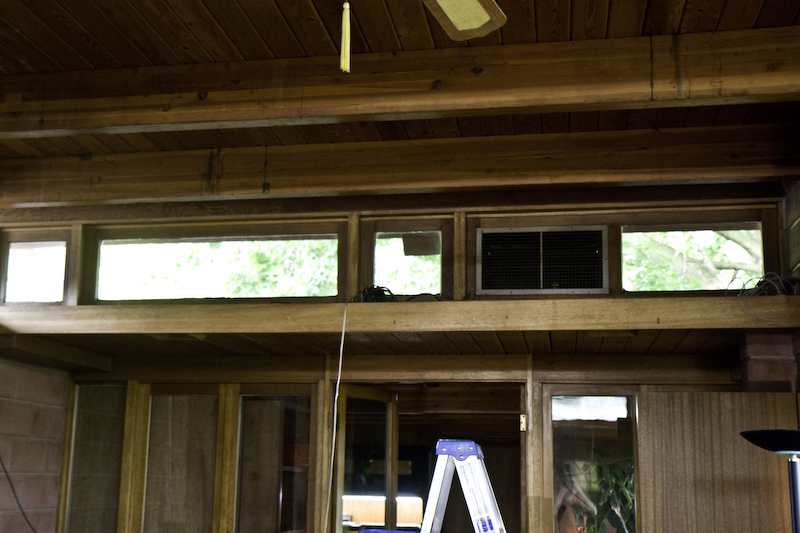 Upper windows |
 View from roof |
After these items are taken care of then the roof will be ready to go at any time.
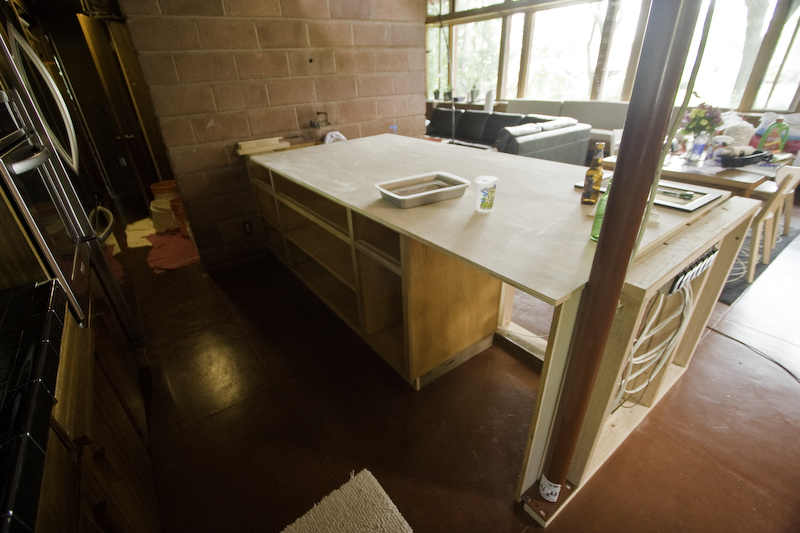
Island area:
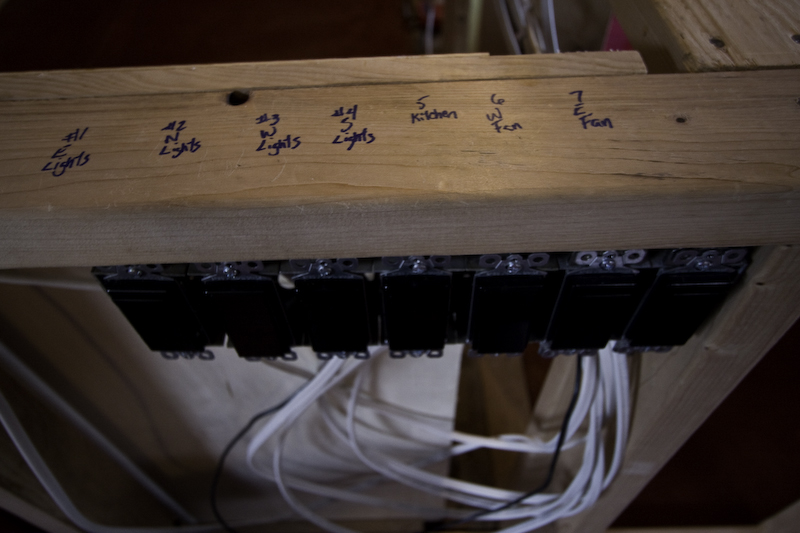
Major development in this area! Things are really shaping up and coming together. First order was to relocate the switches to the end....yeah all 7 of them! "The Command Center" is what I call it. My dad spent a good amount of time creating a cheat sheet to figure out what connected to what...FUN! A HUGE thanks to him for figuring that out! New switches are ready to be installed to bring the total boxes from 7 down to 5.
 "the command center" |
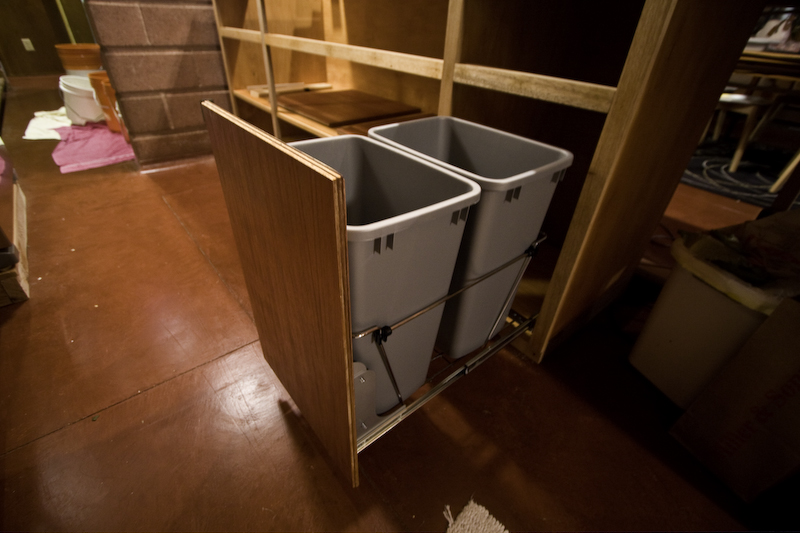
Next the end cap wall was added to box in the right end of the island. This is where the beverage fridge will be located.
 Right end of island | 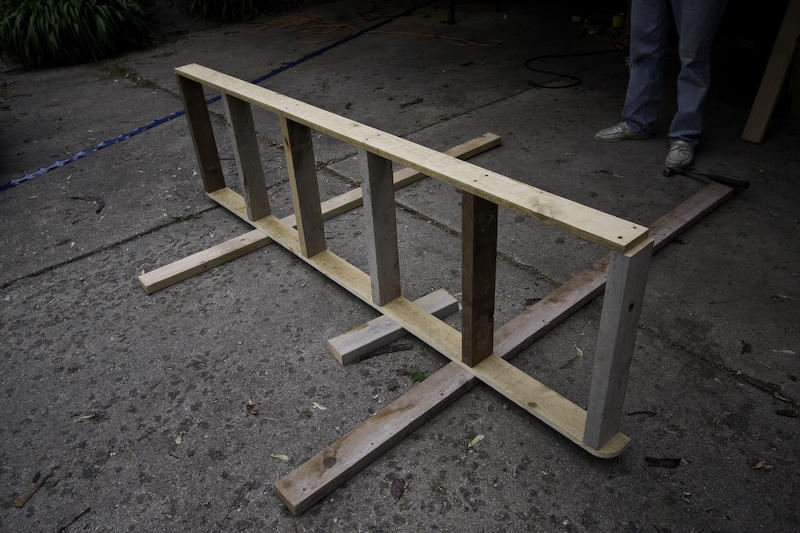 Cabinet base |
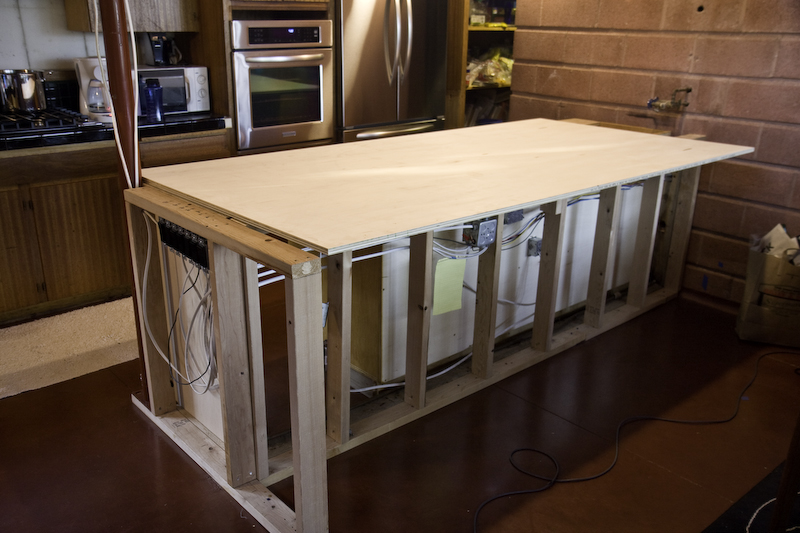
Now we started on the main cabinet. Another huge thanks to my dad for his meticulous measuring and planning, Things look great!
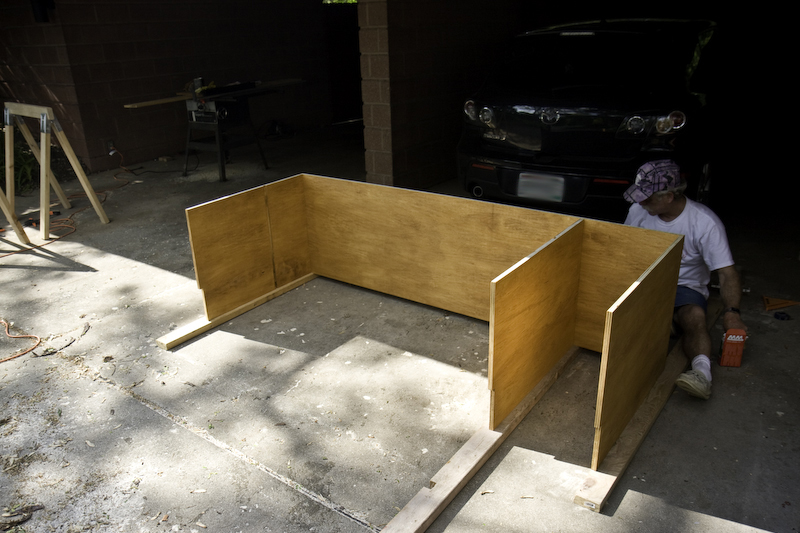
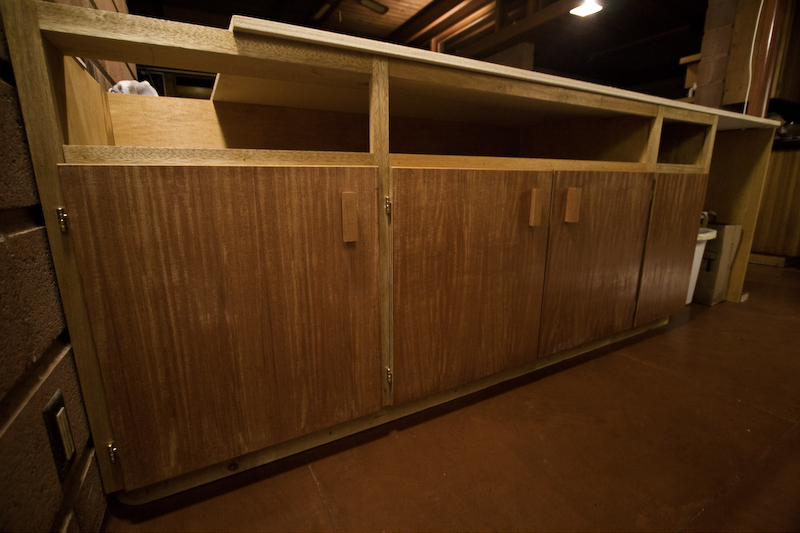
The base was build first. Support details for a once installed countertop were thought of. Once the base was constructed we started cutting and assembling the carcass for the cabinet. As in previous designs...working from left to right there will be the beverage fridge, a pull out garbage, double swinging doors, and a single door below a salad sink. All cuts were made, Back was added and everything was stained and ready to be put into place... This is a large cabinet! Once in place we added a ply on the top to get an idea of the island size, HUGE! It's going to be very nice once complete!
 Cabinet carcass |  |
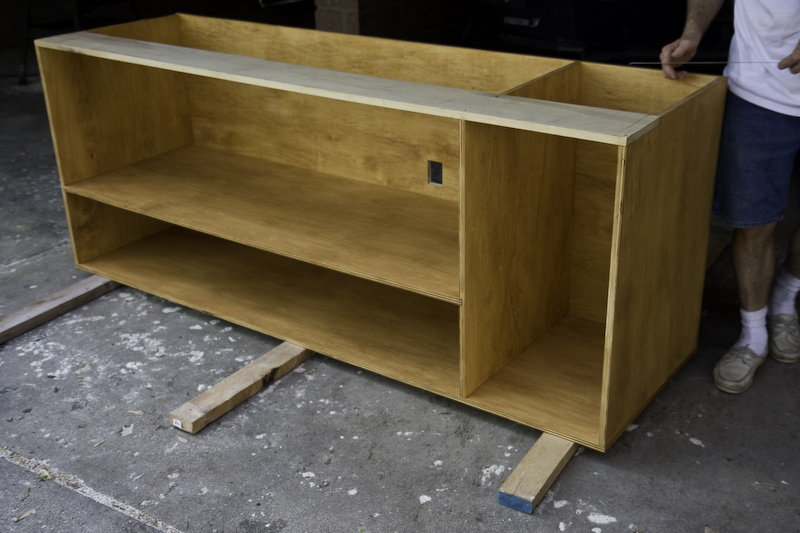 Back is on! | 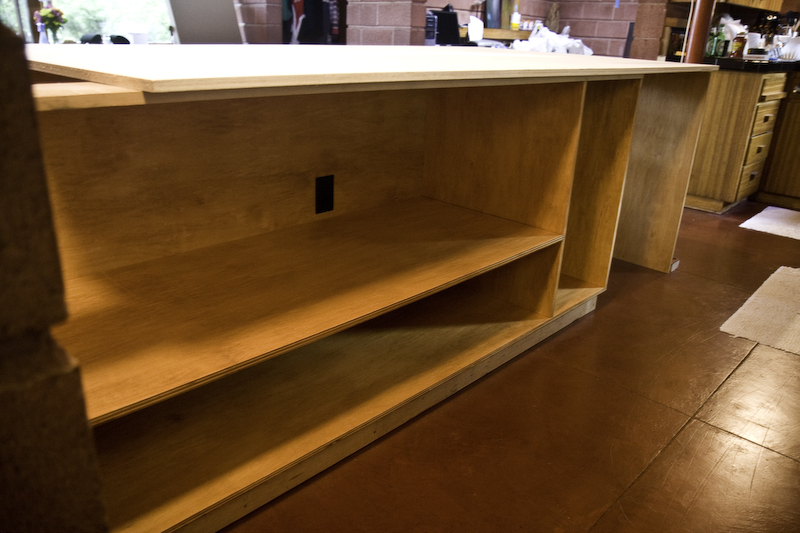 Seated into the kitchen |
 Full sheet on top to show size! | 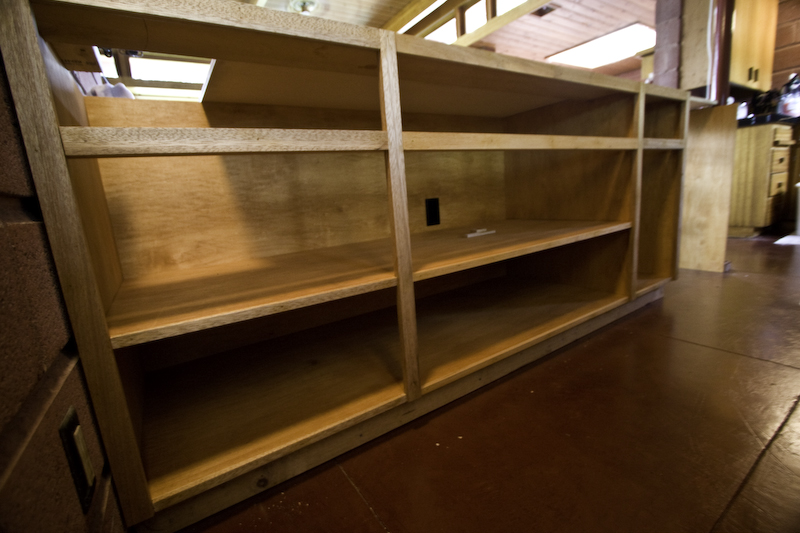 All trimmed |
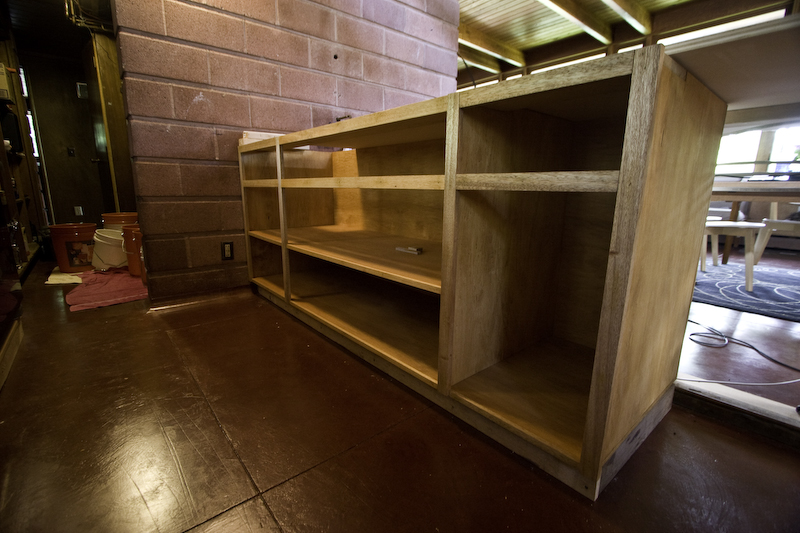 |  |
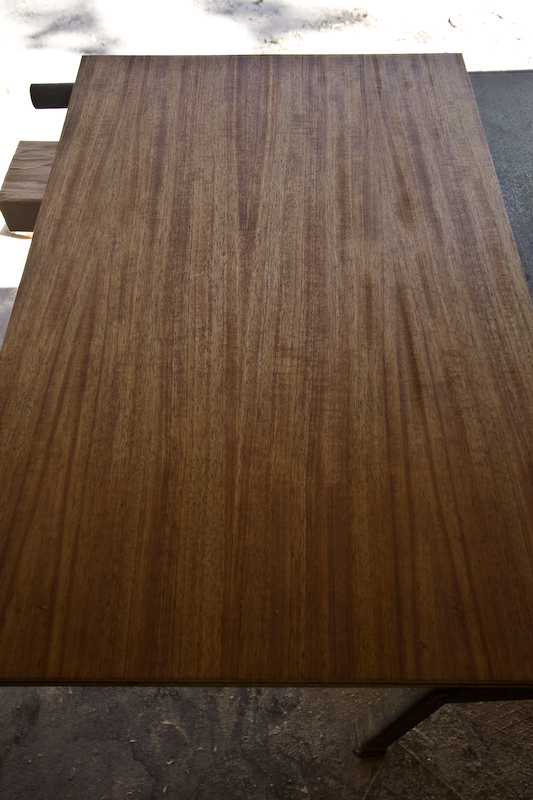
Once in place the next phase was trimming out the carcass for the doors and drawers. Once everything was trimmed up we finally got into cutting the beautiful mahogany ply. Careful planning and design utilized nearly the whole board, and at it's price, it's needed.
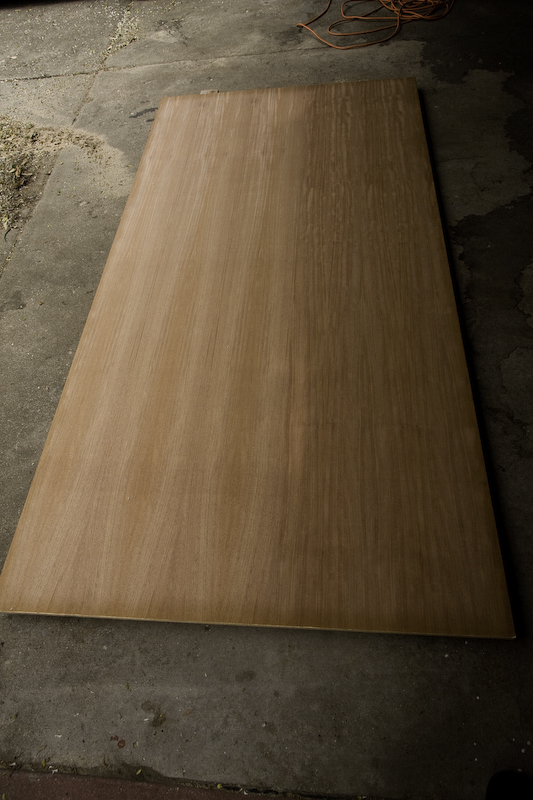 Ready to be cut up | 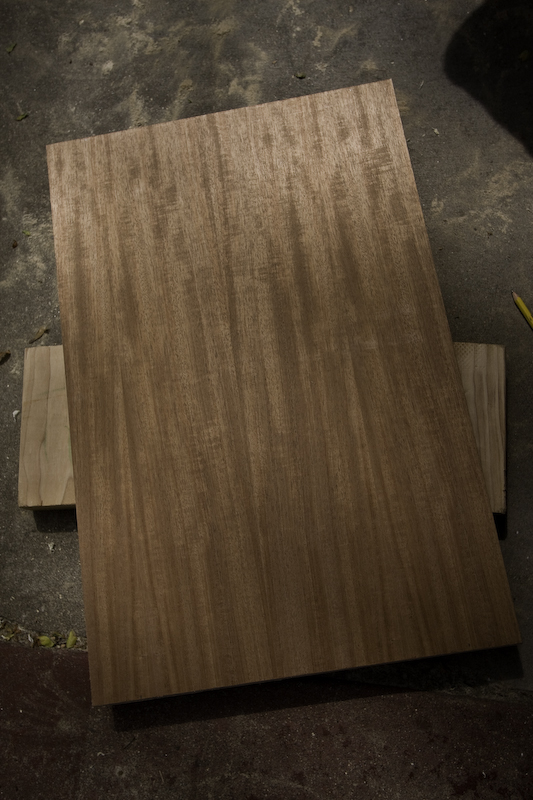 One door rough cut! |
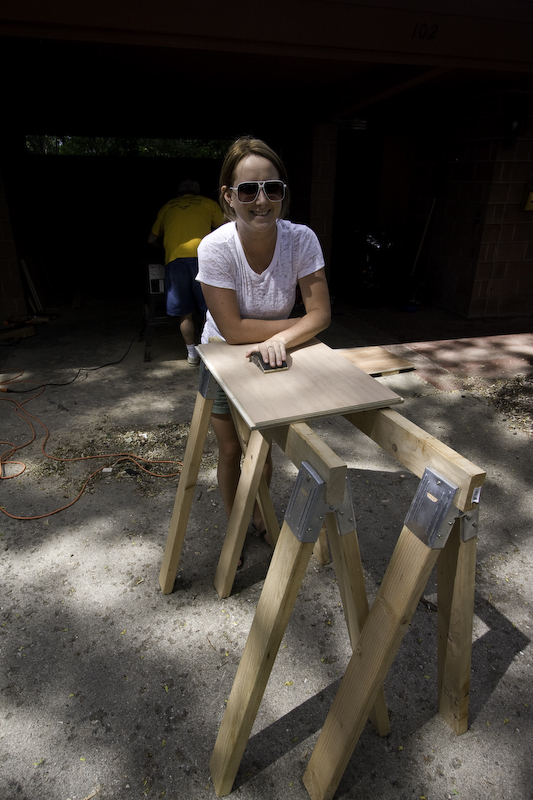 Claire Sanding her heart out! |
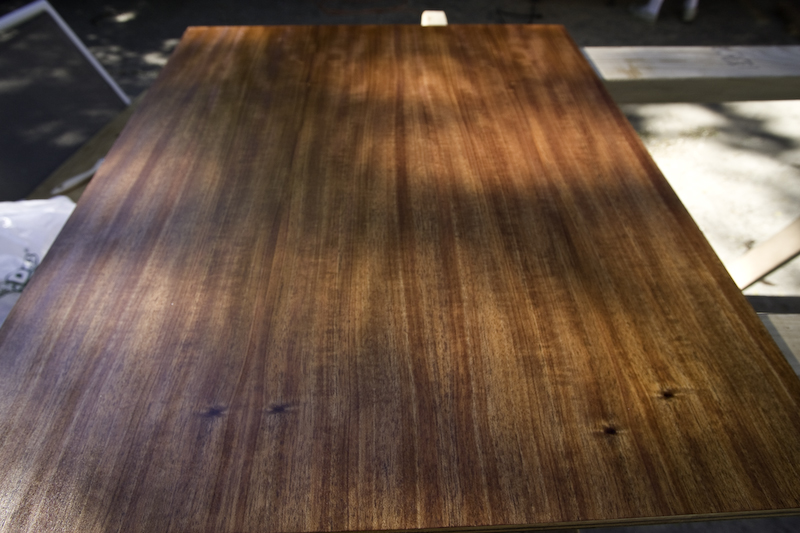
Once the cuts were made, you begin to see how the doors will look. Add some furniture finish and they POP! Take a look at how beautiful they came out! They are a little darker than the old doors but they are stunning....see for yourself.
 looks great! | 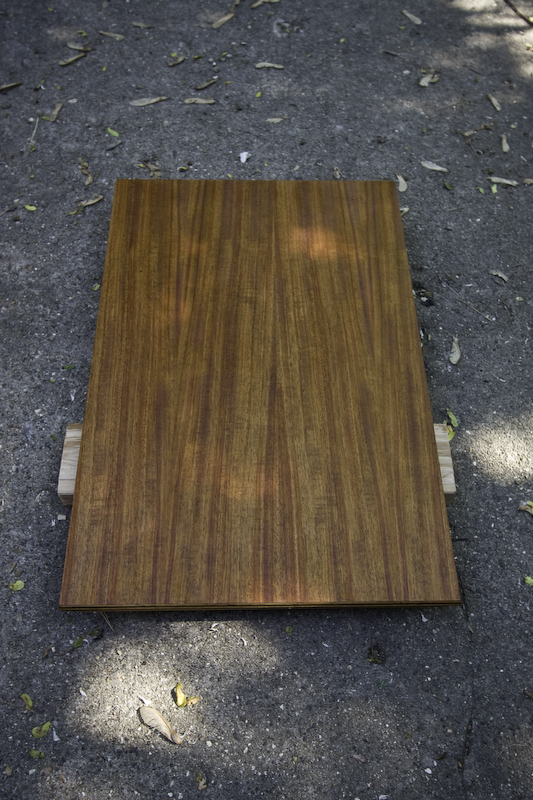 Another Door |
 Close Up detail | 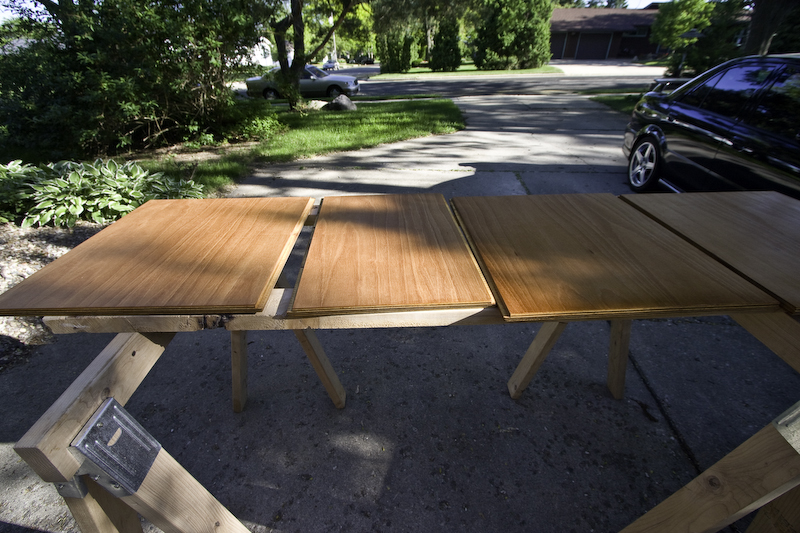 Finishing doors |
I did find a source for the hinges on eBay, straight from the UK. Although they are not the same color, they are nearly the same size and design. My dad created a small jig to help mount the doors, very necessary as these doors are very finicky. The doors are now mounted, although they still need some finishing they're looking great! Also the pull out garbage has been installed and just needs a handle.
 Garbage installed | 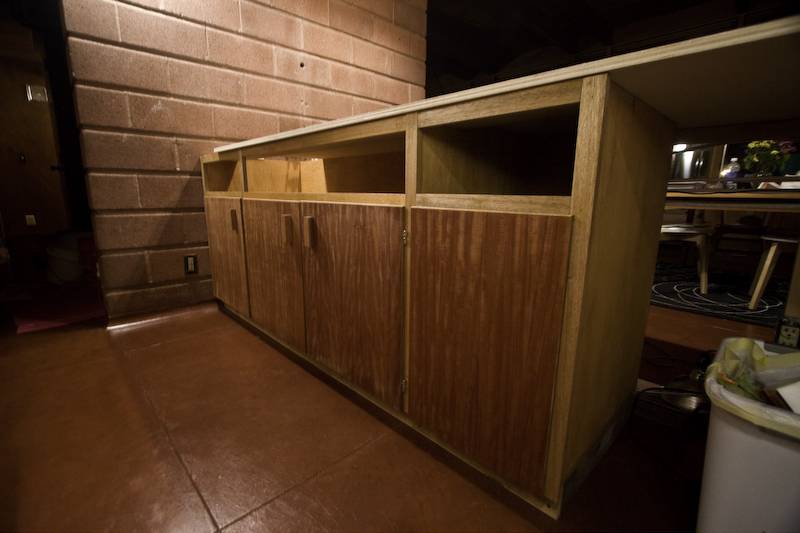 Doors hung! |
 Looking great! |
The next step is to create the drawers for the island and fix a few other drawers within the kitchen.
Everything is coming together...the next major item I need to decide is counters. I've been back and forth about what type. Researching types and comparing pros/cons of each. I'm choosing between Concrete (Made local by my floor installer), Silestone (not set on any colors), and most intriguing: soapstone (love the look and durability). I'm leaning to soapstone now although I'll need lots of it.
So that's up to date... I really need to get back to weekly or bi-weekly posts just to ease the amount of information that I need to update. I say that now, but we'll see.
Got something to say? Leave a comment below!
IM
4 comments:
The pool is wonderful all cleaned up, such a nice color of blue! Just wondering what you source was for the outdoor lights? The Island is turning out beautiful!
Thanks for the comment! The lights are simply from menards, easy right!
Thanks for reading!
WOW - looks like you guys have been really busy! Looks fabulous though - I can't wait to see it! Hope you guys are doing well and finding a little time to relax by the pool soon :)
WOW! You guys have come a long way! Oliver is very excited to have made your website!!! Can't wait to see it all finished! You guys have a beautiful home! See you soon :)
Post a Comment